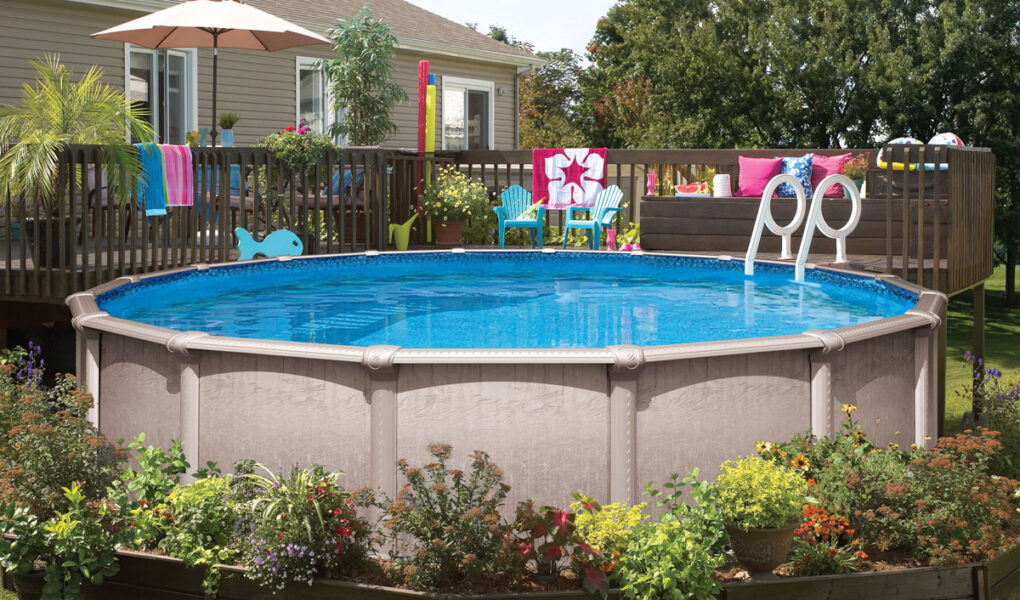
In recent years there has been a breakthrough in inflatable pools and other types of above-ground ones as well. From steel construction, easy sets to those round ones where you inflate the top, fill with water and attached the recirculating pump.
The fame of this type of pool grew mostly because they are long-lasting, easy to set up and maintain and above all cheap. It’s cheaper now for a family to get even the top-notch steel-frame above-ground pool that to go for a week or two on a summer holiday somewhere tropical. If you get yourself a pool you have a place to enjoy for the entirety of summer for at least 2 to 5 years, depending on how you maintain your pool.
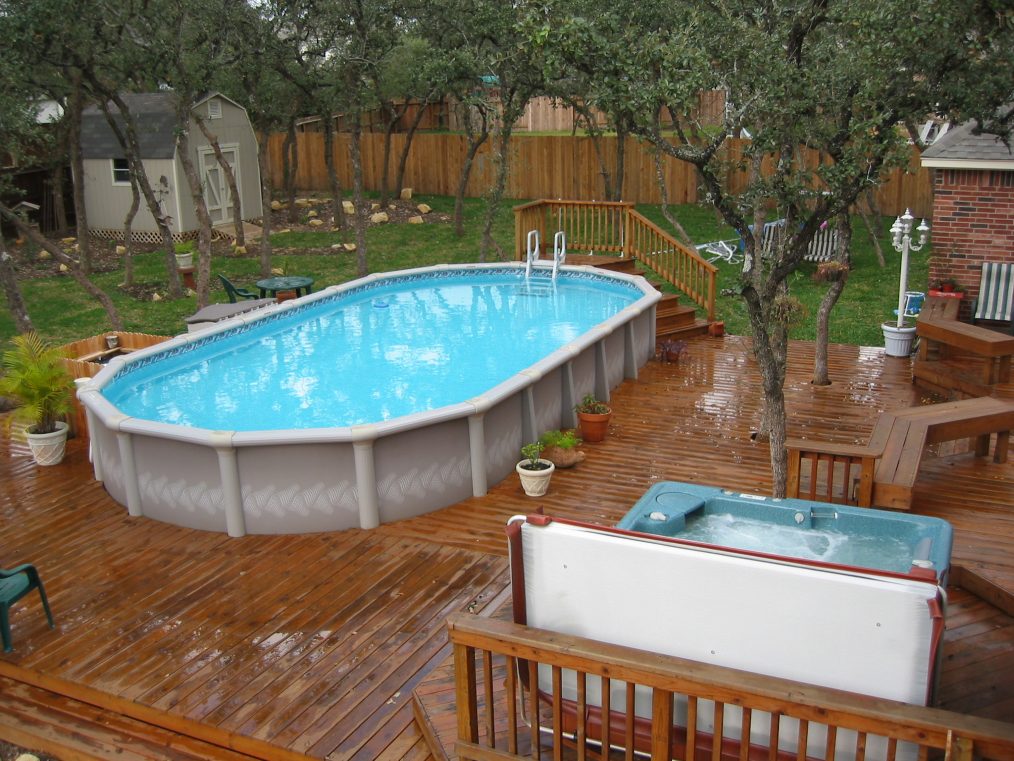
There are also plenty of chemicals widely available for water maintenance and you don’t have to go pro with them as you would if you had an in-ground pool, and you wouldn’t have to invest a lot in filters, pumps, heavy-duty hoses and what not. The simplicity and affordability were the philosophy with above-ground pools and they’ve hit a home run with them for sure.
There are a few things you should do before you get yourself an above-ground pool, and there are a few things you should get to enhance your, home pool enjoyment. One of those can be things like pool inflatables, while others can be anything you wish from a place like bedbathandbeyond.com.mx.
Let’s get back to that preparation shall we since it is the gist of the article. Most mistakes we see being done is placing your above-ground pool on the ground. This is a bit weird sounding and it should imply you do this, but there is a reason we are saying this. The pools should go on the ground but there should be some preparations made to the spot where the pool will reside before placing it and filling it with water.
When it comes to the ground preparation you can pick between the two most used base materials for above-ground pools – Mason or pools sand and Stone dust.
Although the companies that make these above-ground pools are making an effort on producing highly durable and resistant main materials, you need to put some additional effort to make sure that these stay whole for as long as possible. Another thing you need to consider is the warranty you get with these pools that is only worth it if you have prepared the ground below as per specification. If you neglected to do that any damages to the pool will not be covered by the warranty. This should mostly consider those that plan on buying those bigger pools that are a bit pricier.
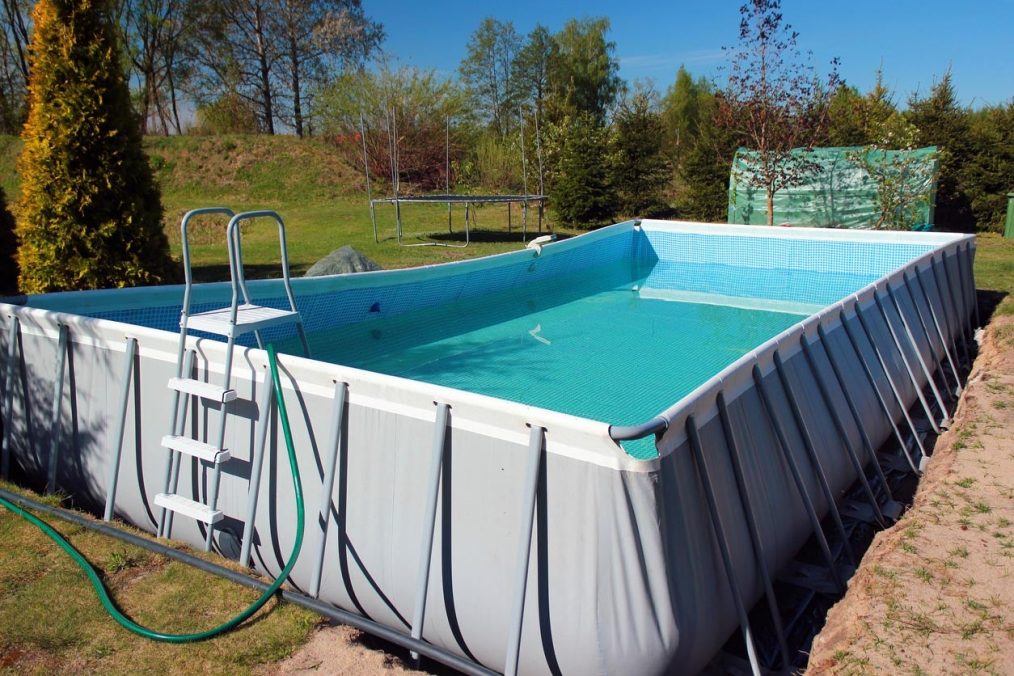
Now when it comes to the preparation there is two way you can do this, with those two materials we mentioned. You can either dig the ground below a bit and layer the pool sand or the stone dust or you can do it without digging and spread it on the ground evenly. The most important thing here you should memorize is that all of this needs to be spread evenly because any imperfections or uneven spots may lead to the pool or its construction to lean and apply uneven force on certain areas leading to spilling of the water or even worse, to its base material being stretched or ripped.
This is why most above-ground users are opting to dig the ground at least an inch, straighten it as possible and layer the pool’s sand or the stone dust until everything is as even as possible. This isn’t anything too difficult to do, it is a bit time-consuming but the entire job can be done by you and your family, and if you do it OK you only have to do it once.
So, after an inch or two of digging, straighten the soil as much as possible and clean all the stones or roots you find then you can put the materials on this. Pool sand is the most common and most used base material for above-ground pools because it creates a very smooth bottom layer. It should be thoroughly watered down and tamped to compact the sand. It can be straightened with the back of a push-style broom or any other straight tool you have at your disposal and if you do everything correctly you will end up without any major divots. When the pool is filled with water and when this sand is pressed by the weight of the water it will be as firm as most in-ground pool bottoms.
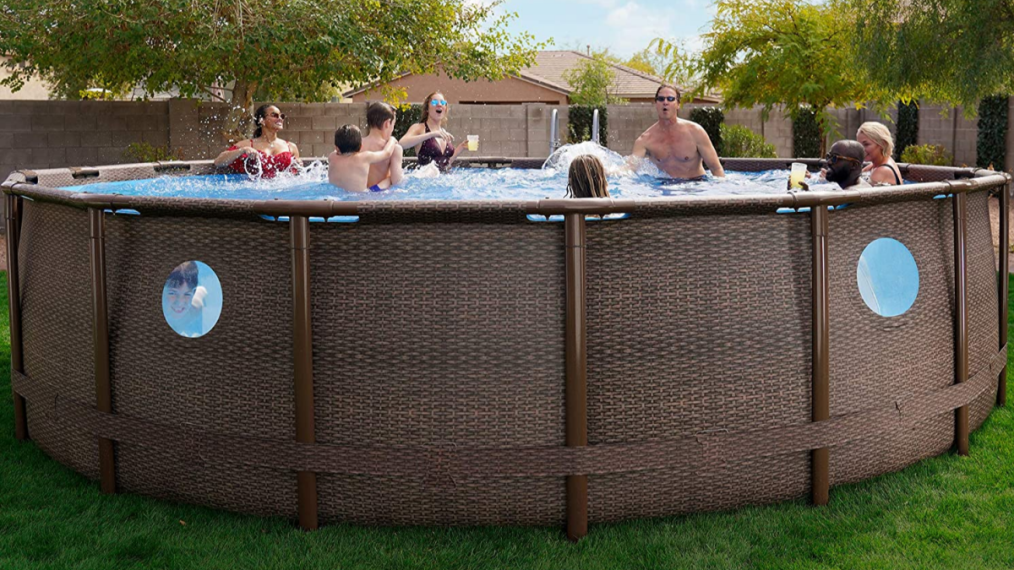
The other option we mentioned is stone dust. It is a base made up of crushed stone and gravel turned into dust that will create a hard, cement-like bottom under the pool liner. What a downside of this base material is that it may create problems down the line of the pool’s lifetime where some sharp pebbles may begin to poke into the liner of your pool. To prevent this straight from the start you may want to invest a bit more into a protective layer that will go between the base material and the pool liner. This material can be either an armoured guard or rolled foam. The first one is a pre-cut geoengineered fabric that is extremely strong and it is a pricier option. rolled foam is a condensed style foam that is specially made for pool applications and will not take on moisture. Both of these options are good if you are opting for sand dust, but you may also want to consider these for the pool’s sand as well because both of these will provide additional cushioning for your feet as you walk around in your pool.
You also want to think about other materials that will go around your pool and this is where you will have a complete base of the pool done. Most people, that opt for a slight dig in the ground, when placing their base also do the heavy-duty foam or pool liner around the pool to prevent scratches or punctures to the pool by rocks, roots or anything else sticking from the ground. You can also opt for small decorative stones mixed with a bit coarser sand and it will also double as a moisture barrier to the walls of the pool, so you get yourself a win-win scenario there.

